.png?height=120&name=CyvatarLogo_May2022-01%20(1).png)
This guide provides a clear and detailed explanation of how to use the Recycle Bin feature in Cyvatar.ai Platform, including handling archived devices, issues, and tasks.
Overview
The Recycle Bin feature in app.cyvatar.ai allows users to manage their deleted tasks, issues, and devices efficiently. Any item that is erased from the main lists will be moved to the Recycle Bin, where it can either be permanently deleted or restored if necessary.
Accessing the Recycle Bin
To access the Recycle Bin:
-
Log in to your http://app.Cyvatar.ai account.
-
Navigate to the left-hand side menu.
-
Click on the Recycle Bin option.
Recycle Bin Interface
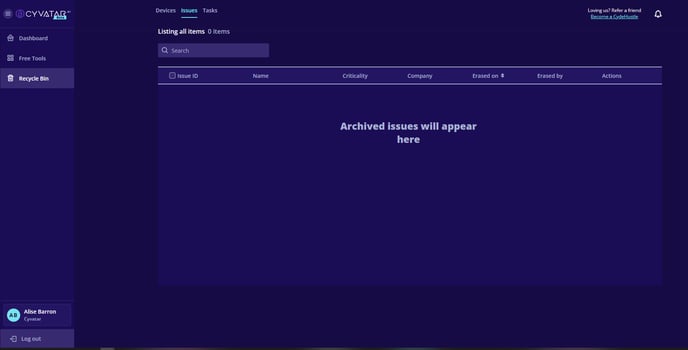
Upon accessing the Recycle Bin, you will see an interface similar to the one below:
Devices
The interface for managing devices in the Recycle Bin includes several important columns:
- Name: Indicates the designation of the device.
- IP Address: Displays the unique IP address assigned to the device.
- MAC Address: Shows the MAC address that identifies the device on the network.
- Company: Refers to the organization linked with the device.
- Erased on: Captures the specific date and time when the device was removed.
- Erased by: Identifies the user responsible for deleting the device.
- Actions: Lists the options available for managing the device, such as restoring or permanently deleting it.
Issues & Tasks
The interface for managing issues and tasks within the Recycle Bin features several key columns, as outlined below:
- Issue ID: This is the distinct identifier assigned to each task, facilitating easy reference.
- Name: This field represents the title or description of the task.
- Criticality: This indicates the urgency or importance level of the task at hand.
- Company: This denotes the organization related to the task, providing context for its relevance.
- Erased on: This records the exact date and time when the task was removed from the active list.
- Erased by: This specifies the user who initiated the deletion of the task.
- Actions: This section outlines the options available for managing the task, such as restoring it to its original state or permanently deleting it if no longer needed.
Searching and Sorting
Searching
To efficiently locate specific data within the Recycle Bin, utilize the search bar provided. Enter relevant keywords pertaining to the desired item, such as its name, IP address, or associated company name. The Recycle Bin will seamlessly filter the results to align with your search criteria, enabling quick and easy access to the information you need.
Sorting
You can conveniently organize the data by date, allowing for easy identification of items based on their deletion timeline. To sort the entries by date:
-
Click on the Erased on column header.
-
The items will be sorted in ascending or descending order based on the date they were erased.
Managing Archived Items
The Recycle Bin is the central location for managing all archived tasks, issues, and devices. You can search for specific items using the search bar provided in each section.
To restore or permanently delete an item:
-
Locate the item in the list.
-
Click on the checkbox next to the item.
-
Select the desired action from the Actions column.
Permanently Deleting Items
Items in the Recycle Bin can be permanently deleted if they are no longer needed. This action is irreversible, so ensure that the item is no longer required before proceeding with permanent deletion.
Restoring Items
If an item was deleted by mistake, it can be restored from the Recycle Bin. Restoring an item will return it to its original location.